Upgrading an SC847 with a rear 2×2.5″ Drive Cage
I read this post about upgrading an older SC826 to support the rear drive cage option, and wondered if I could do the same with an SC847. The newer ‘B’ models support this natively, but there are still tons of cheap non-B models out there.
The first question is “why”? To which there are several answers:
- More drives! Free up a couple 3.5″ bays for 3.5″ drives, rather than using an entire 3.5″ bay for a 2.5″ drive.
- Cheapest NVMe option. $60-65 for the upgraded motherboard tray, and $80-90 for the drive cage, compared to $200 or so for the 4x U.2 rear backplane.
- More NVMe. You could get both the 4x U.2 rear backplane (BPN-SAS3-826EL1-N4) and the rear 2x NVMe cage for 6 NVMe bays. (There is also an 8x U.2 front backplane, but it’s hard to find). for a little over $200. The 8x U.2 front backplane is much more difficult to find. Maybe 4 NVMe bays isn’t quite enough for you.
- Dual-expander (EL2) backplanes: There are no backplane options with both dual SAS expanders and NVMe support.
Enough intro, I was able to get this conversion working, and it was much easier than the 826 conversion (though took a lot longer). Here’s how.
There are three main things you will need to do this conversion:
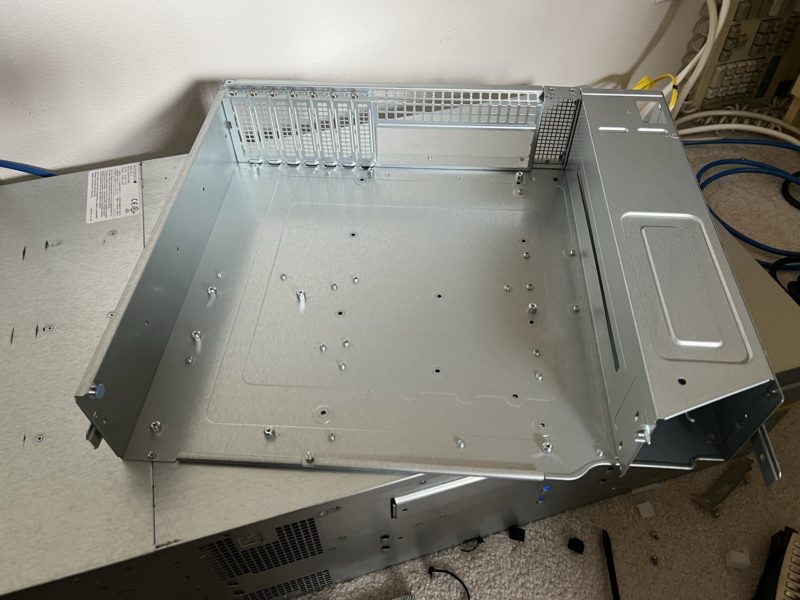
- MCP-220-84708-ASM: This is the motherboard tray. In the 847, the motherboard sits on a tray which can slide out of the back of the chassis (you’ll need to pull the blue knob again once it hits the end of its travel, and then it can slide all the way out). This includes the rear window.
- MCP-220-82616-0N (SAS/SATA only) or MCP-220-82619-0N (NVMe ONLY – not hybrid!): The actual drive cage.
There is another item worth mentioning: MCP-240-82608-0N. This is the rear window – the less-wide version which will have room for the rear cage. However, this is included in the MCP-220-84708-ASM – I only mention this because the tray takes so long to acquire that you may wish to just go for the quick and dirty route and do something more akin to the post linked in the first paragraph.
There are also some things you may wish to buy or modify on your own:
- Air Shroud: The older air shroud that you’d get with one of these won’t have space for the rear bays. You’ll need to either dremel it, buy a newer one, or not use an air shroud.
The motherboard tray is the problem here. It only costs about $60-65, but this is a niche part, so it’s very rare to find a seller that keeps these in stock. Most vendors order it from the manufacturer as needed, so expect it to take months. I ordered mine in January and received it in April. Furthermore, I couldn’t find a single picture of the part anywhere, so I had to deduce that it was the correct part by comparing parts lists from different SC847 models. I also ended up with a spare rear window since I had ordered that separately, not knowing that it was included.
Finally, the cages themselves range from $60 – $100. Since you’ll be patiently waiting for the motherboard tray, take your time and wait for a good deal.
With any luck, you’ll be in and out for less than $150.
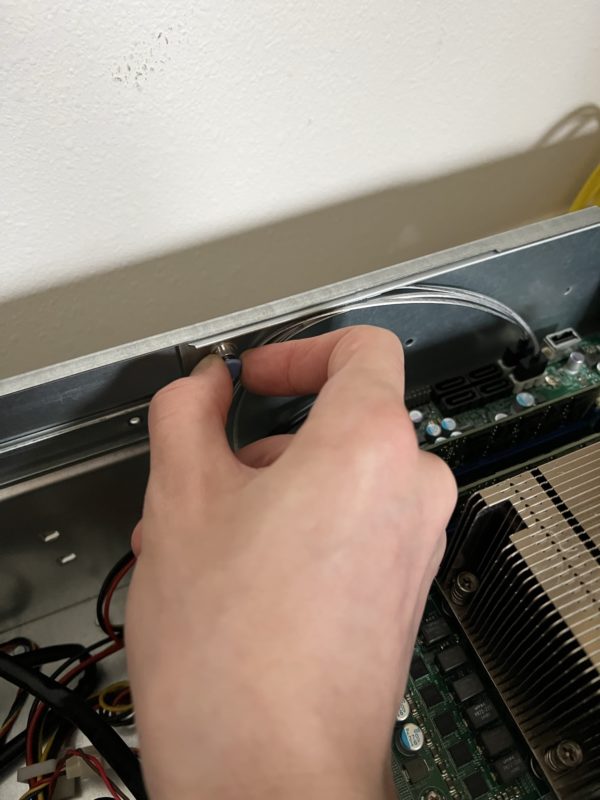
The procedure is fairly simple. First, completely remove the old motherboard tray. Disconnect the cables from the motherboard, pull the blue knob, and slide the tray out as far as it will go. It may require some force. When it gets stuck further down, you need to pull the blue knob again to allow the tray to completely exit the case.
Next, before doing anything else, put the new tray in as a fit check. This is a good idea any time you’re dealing with rails, since shipping damage can cause rails to become bent enough to not slide freely.
At this point, you can leave it in, or take it back out to make it easier to install everything else.
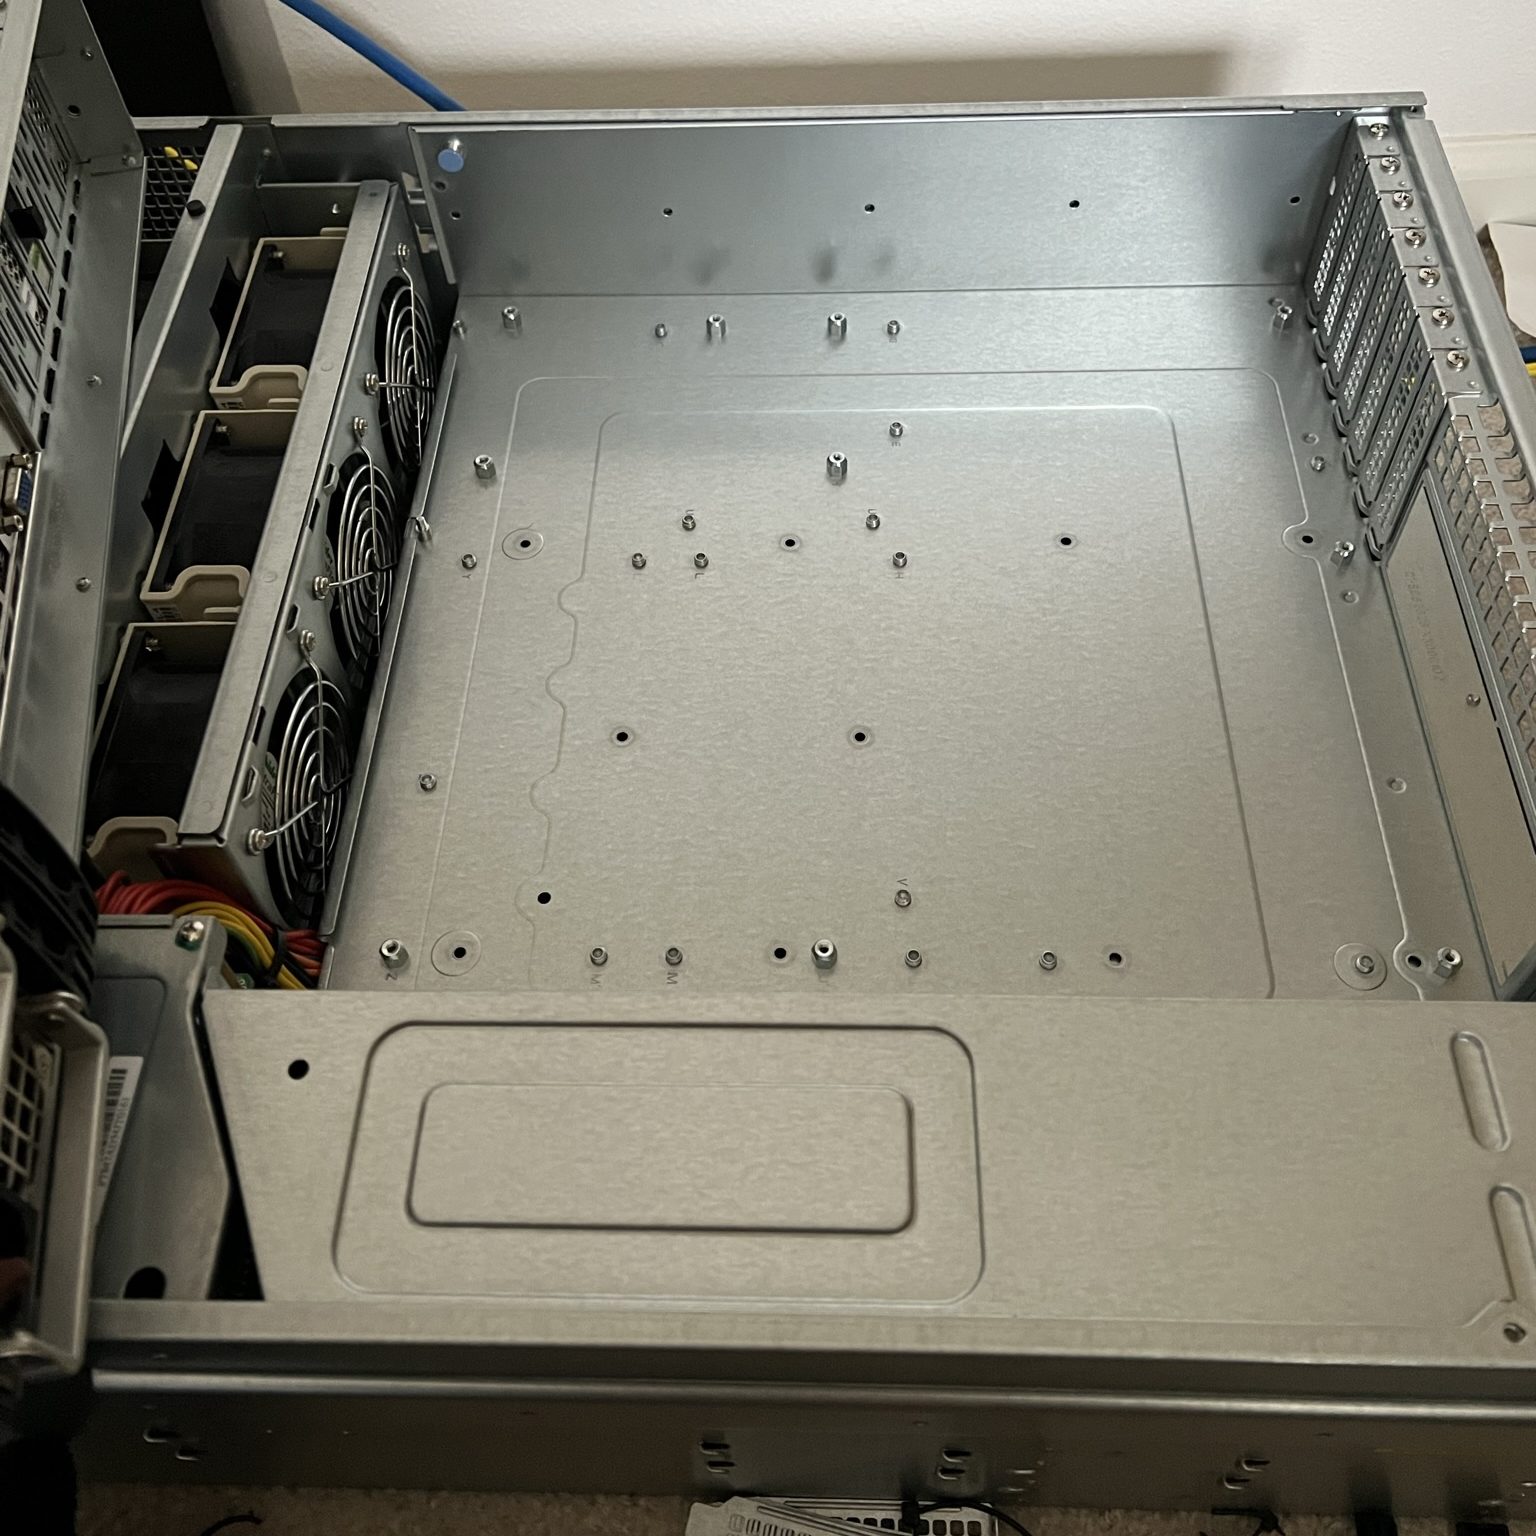
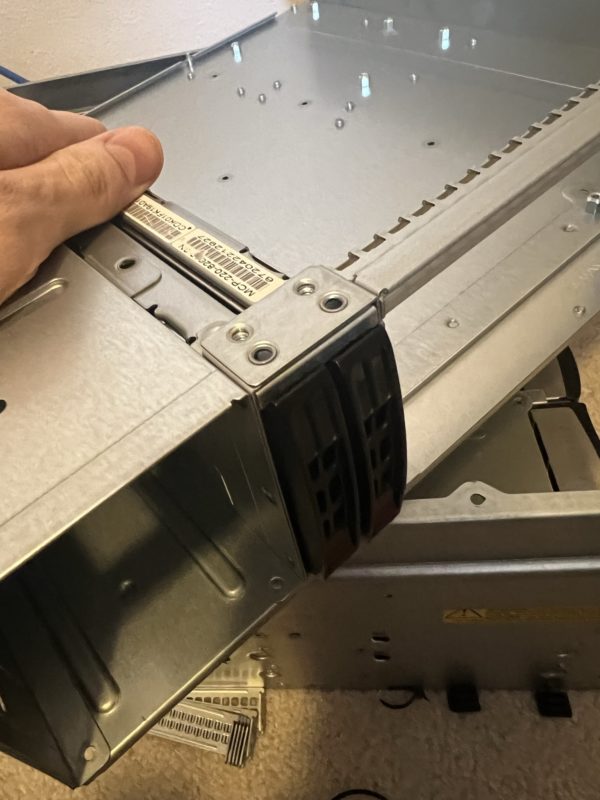
First, check the locations of standoff nuts. Unlike typical cases, where standoffs screw into the tray, the tray comes with standoff nuts which screw onto screws built into the tray (i.e. instead of a female side on top, and a male side on the bottom, they’re female on both ends). Make sure you only have them installed in places where your motherboard actually has a hole, otherwise, you might short something. You’ll also need one where the drive cage will go, shown here:
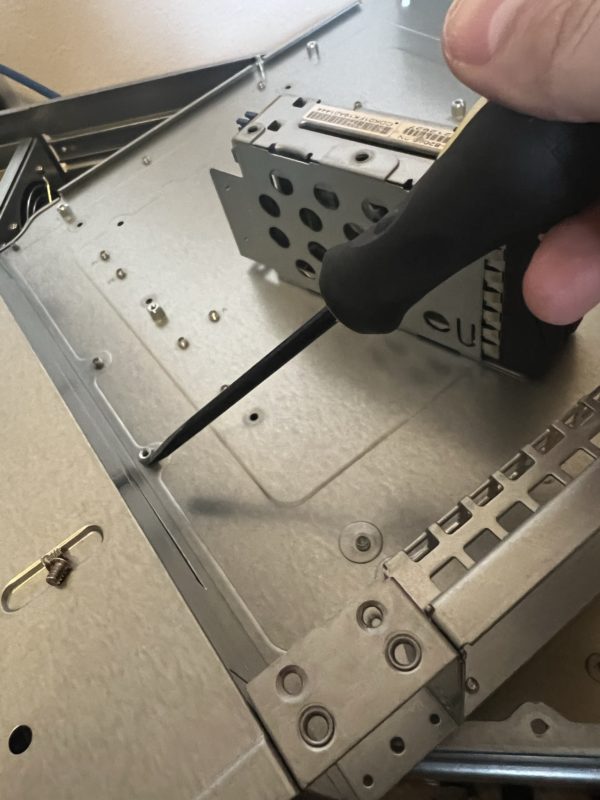
Remove the three screws holding the placeholder window to the tray, and install the drive cage (it only uses the two screws on the top, not the one on the bottom).
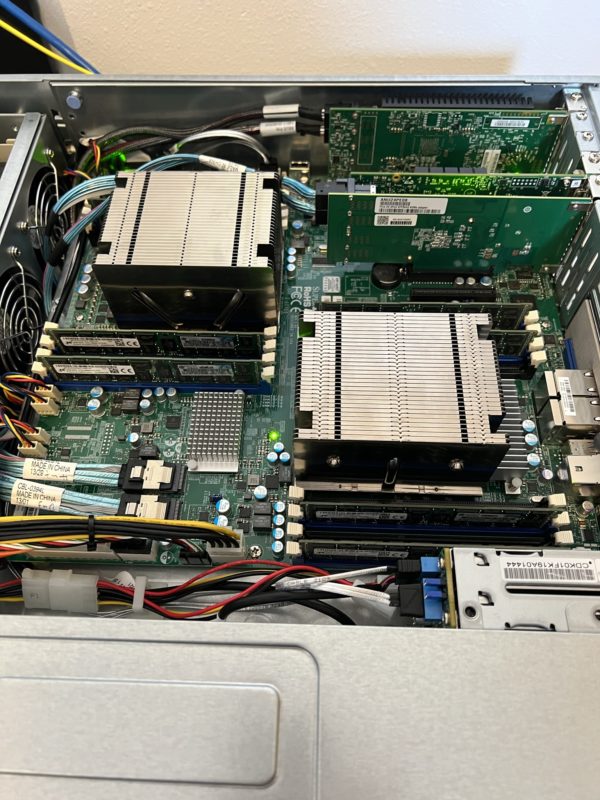
After that, it’s pretty standard stuff. Remember to install the I/O shield first, and then install the motherboard and expansion cards. Finally, re-connect cables (including the new cables for your drive cage).
One thing I was a little disappointed about was that the BPN-SAS3-826EL1-N4’s SAS expander does not support SGPIO sideband on cascade ports, so while drives will work if you do that, you won’t be able to control their LEDs. To get full support for this, you’ll need to connect them to a SAS or SATA controller that supports such sideband signals for direct-attached drives.
So, in conclusion, wait times aside, this is a very cost effective way of upgrading to a ‘B’ model chassis. Normally, you’d be paying much more than a $60-65 premium to get a B model.
July 15th, 2024 at 21:52
I also went through this Experience, on a SC826B Chassis which was NOT originally equipped with this 2×2.5” Hot Swap Bay. Part of the “Issue” was to figure out if you were to install it from the Outside or from the Inside of the Chassis :P.
I must say however that in terms of Cooling it’s very disappointing. There is almost no Airflow going through (Supermicro should have included a fan or more holes in the Backplane, i.e. the PCB should have more holes through it).
My Crucial MX500 2.5” Boot/Root SSDs are getting Very Hot very quickly (~ 55-60°C [Celsius !] within 15 Minutes of Booting), even though they are NOT doing a almost anything (iostat shows writes of approx 0.6 MB/s, reads approx. 0.3 MB/s).
July 15th, 2024 at 22:18
What seems to help a lot is to block all airflow above the Motherboard I/O shield. Temps of the SSDs dropped to approx. 40 °C [Celsius !] now.
March 26th, 2025 at 11:31
Very good write-up on this. Thank you.
Do you have the part number for the rear window that you ordered by mistake?
Where did you find SuperMicro parts lists with this level of detail?
Keep up the good work.
James
March 26th, 2025 at 11:59
The one that I ordered by mistake is MCP-240-82608-0N. I found the part numbers by looking at the product pages on Supermicro’s site, and checking the parts list. Sometimes, the parts list isn’t very detailed, but you can occasionally find more details in the manual or the quick reference guide. The part numbers typically have the “MCP-” prefix, so it’s relatively easy to check a PDF manual for potential part numbers.